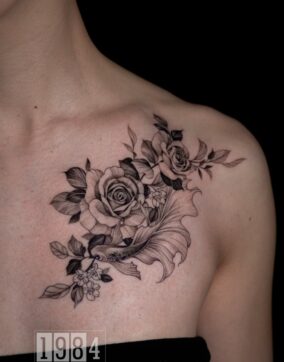
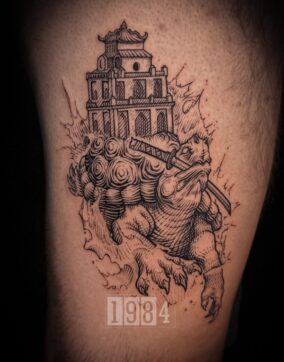
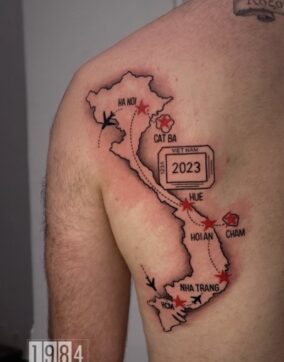
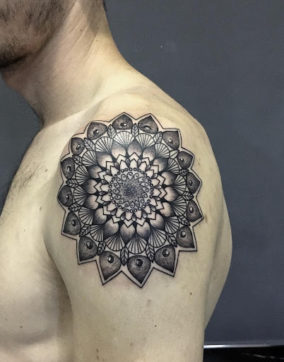
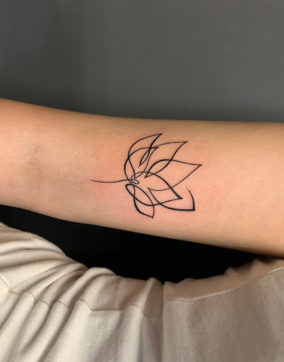
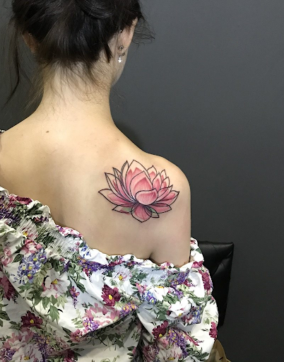
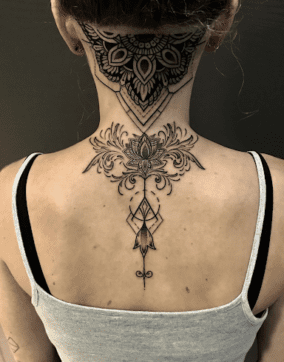
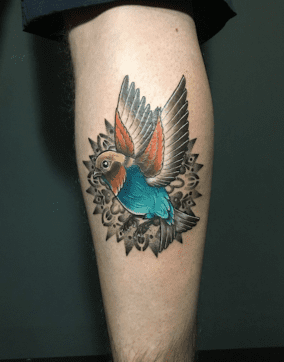
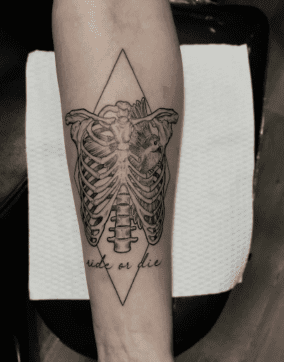
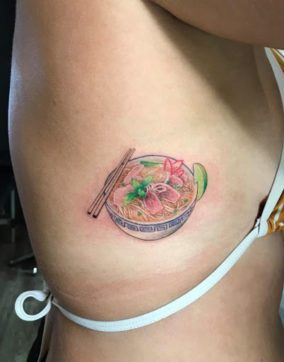
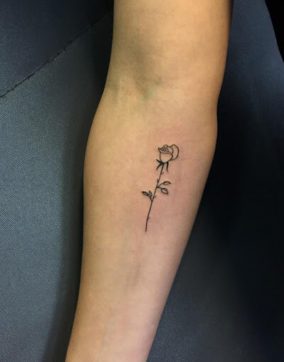
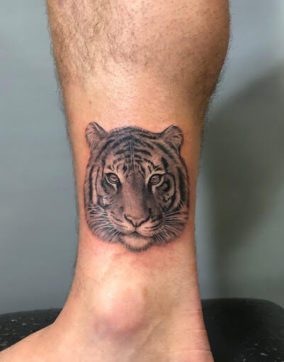
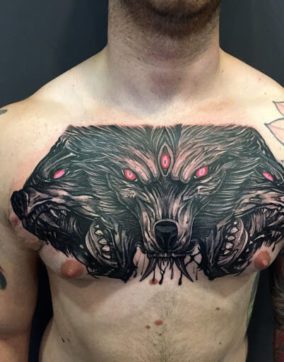
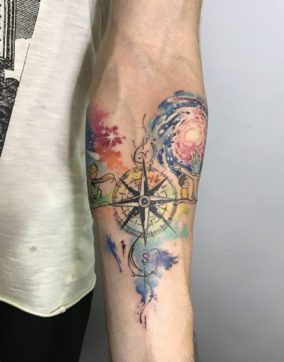
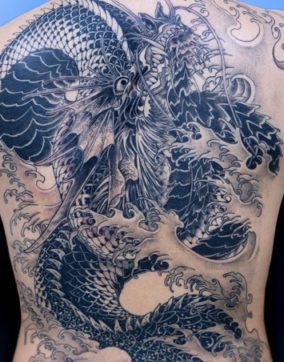
 Tattoo Healing Process – Tattoo Guide – 1984 Tattoo and Piercing Studio – Tattoo Hanoi
1984 Tattoo Studio is your number one destination for everything tattoos — finding a shop, preparing for your first tattoo, learning more about the tattoo community. Our guides are meant as a toolkit to help you be the best client and learn how to work with your tattoo artist to create the tattoo of your dreams. Remember: No matter what you read on the internet, your artist’s advice should be considered the gold standard.
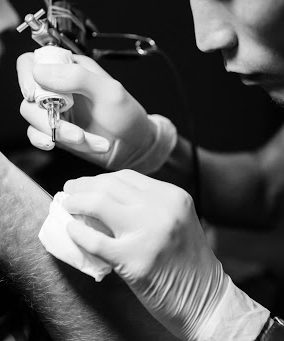
You’ve just gotten freshly tattooed, and it looks amazing. You’ve got your artist’s directions on aftercare, and you’re ready to follow them. Over the next few weeks, your skin is going to go through a healing process – here’s what you can expect throughout that process, and how to take care of every stage. Just remember, everyone is a little bit different physiologically, so your healing process won’t look exactly like this, but it’ll be pretty close. And also keep in mind that we’re not doctors, your artist isn’t a doctor, and anything that looks or smells a little weird should be assessed by an actual doctor.
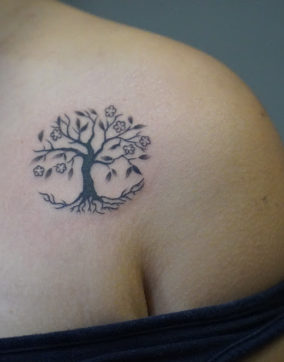
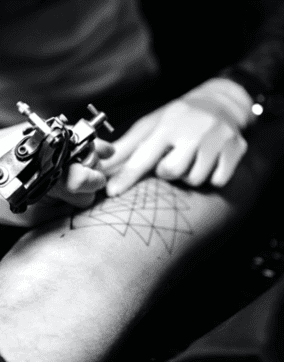
1. 1984 Tattoo Studio Guide – Day One: Taut, bright and fresh
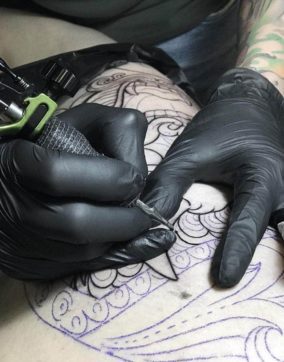
Your tattoo looks just like the flash on the walls when you walked into the shop. This is the best time to see how it’s essentially going to look healed, albeit a little brighter than its final form. Your tattoo is still an open wound at this stage, so keep it safe and clean this first day and night.
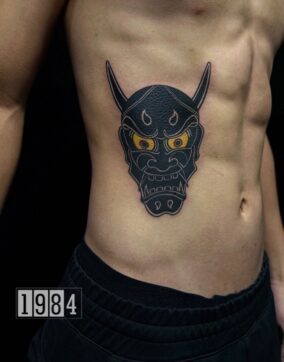
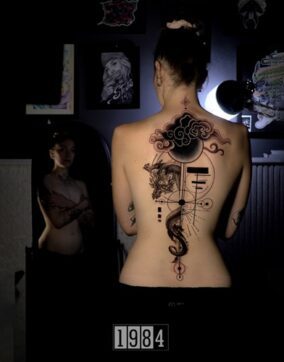
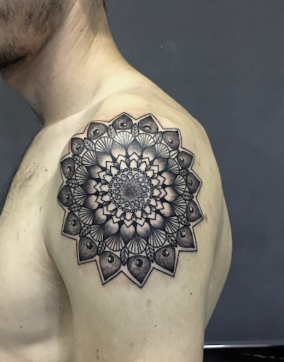
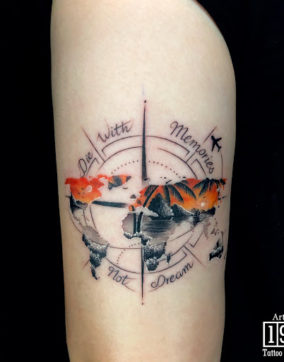
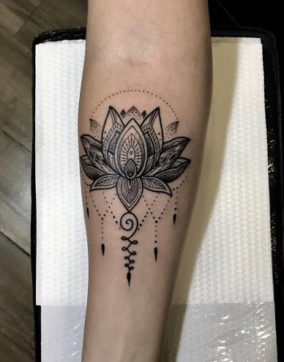
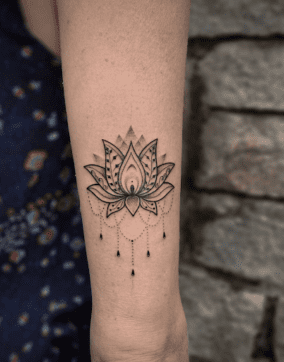
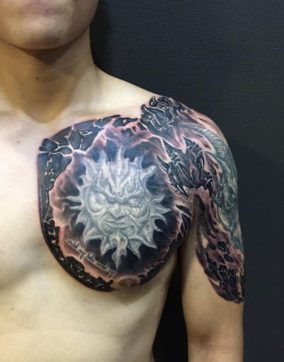
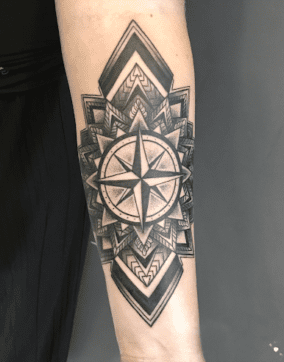
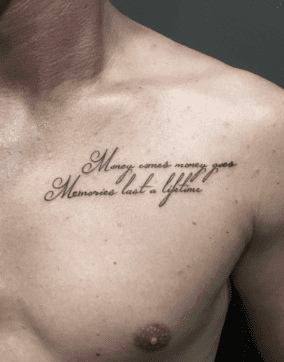
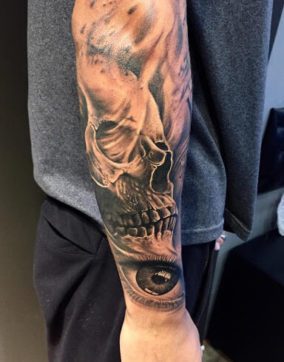
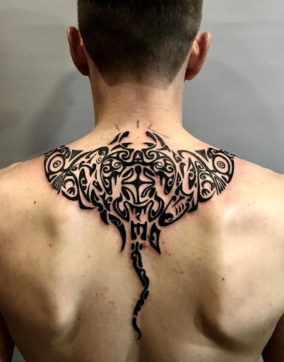
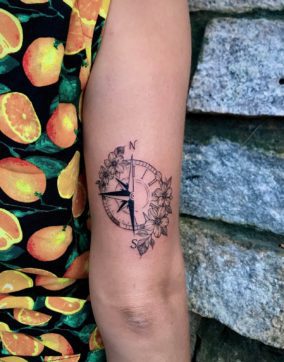
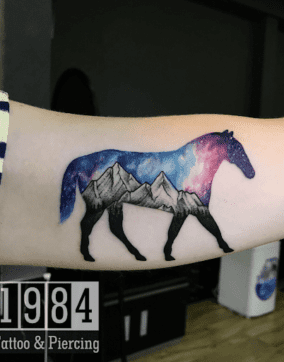
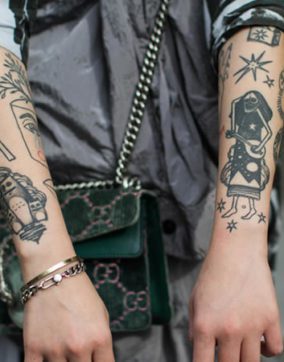
 Tattoo Healing Process – Tattoo Guide – 1984 Tattoo and Piercing Studio – Tattoo Hanoi
2. 1984 Tattoo Studio Guide – Days Two to Six: Oozy
Once you’ve got your tattoo wrapped and walked away from the shop, your skin is probably pushing plasma out of that open wound. This is totally normal. Plasma is essentially the liquid protein that makes up 50% of your blood, and aids in the healing process by helping to form clots, scabs, and move other substances through your bloodstream. When you remove the wrapping from your tattoo, there’s going to be oozy ink everywhere – this is the ink combined with blood cells and plasma, pushed out through your tattoo to heal the broken skin.
Your tattoo might also be giving off some heat – hold your hand above it and that particular area of your skin is probably fiery. This is also a part of the healing process. Your white blood cells and plasma are reacting to the open wound – this is natural inflammation, a way for your body to destroy any toxic agents (as in, potential for infection) and restore tissue. Your body is doing the hard work to basically close up that first layer of skin, the epidermis, so the tattoo can live in your second layer of skin, the dermis. Some people who have immuno-disorders or struggle with hydration or are prone to bruising may bruise at this stage. Keep an eye on it, but this isn’t uncommon. Once again, keep your tattoo clean and follow your artist’s aftercare instructions. By the end of this stage, your tattoo will probably start scabbing.
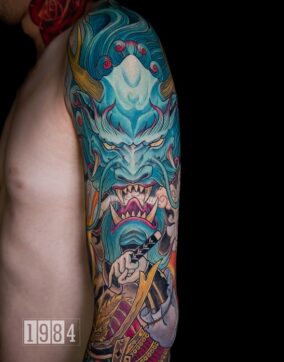
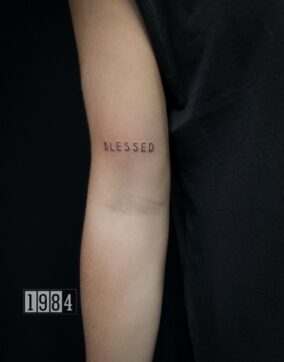
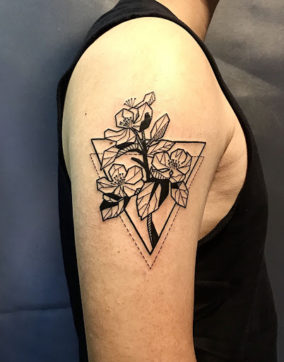
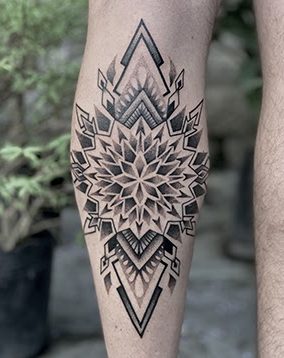
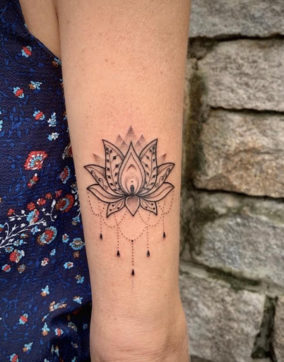
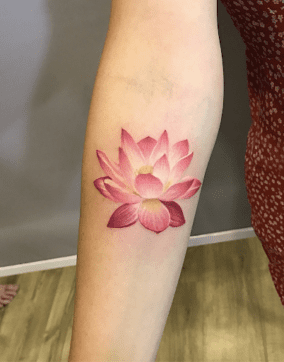
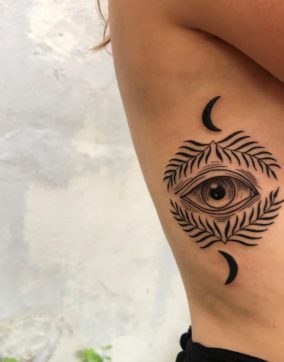
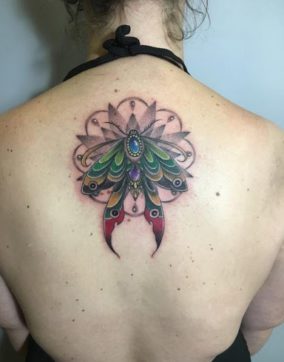
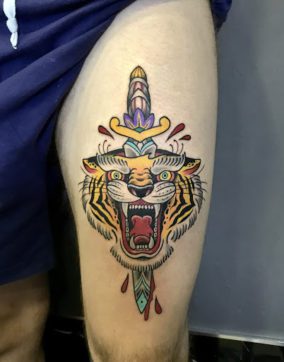
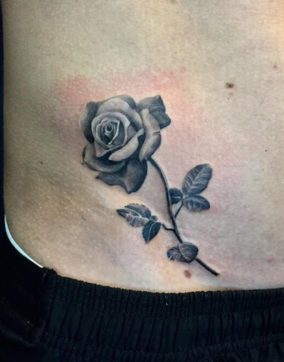
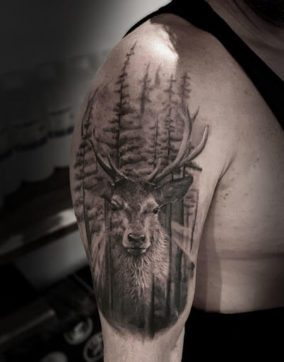
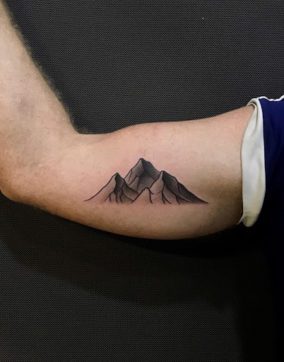
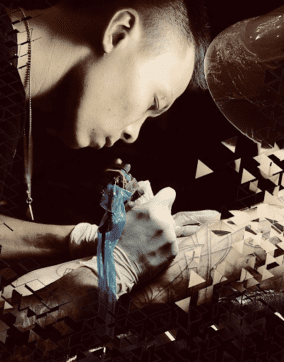
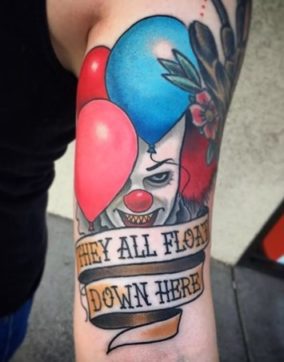
 Tattoo Healing Process – Tattoo Guide – 1984 Tattoo and Piercing Studio – Tattoo Hanoi
3. 1984 Tattoo Studio Guide – Days Six to 14: Scabby and flaking
Your tattoo, especially if it’s more than just line work, is going to be scabby by this point. Your epidermis is healing itself and is no longer an open wound – your white blood cells, the protectors of your immune system, have worked together with the plasma proteins in your body to create a scabby cap where your open wound was. The ink is still there, underneath, but the first layer of it that was hovering in the epidermis will flake away. Don’t pick, don’t peel, don’t press, don’t mess with it. The way you treat this stage can really affect the art – trust us, we’ve slammed our fresh scabby tattoos into enough table corners to know.
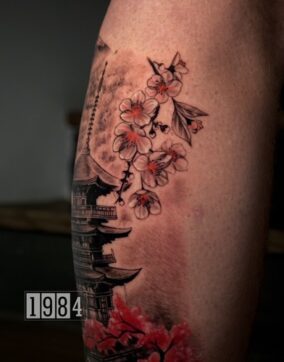
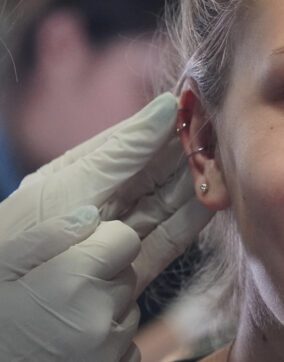
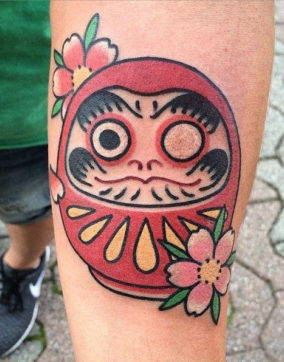
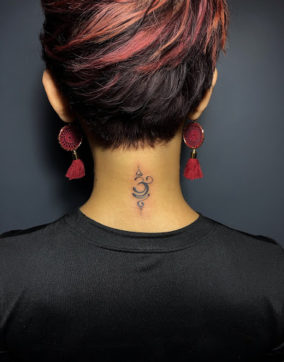
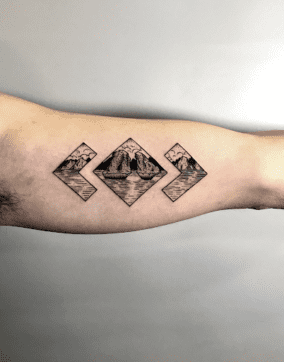
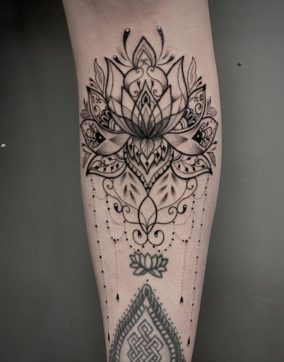
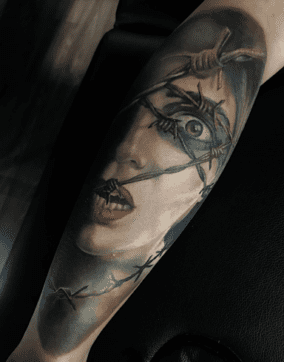
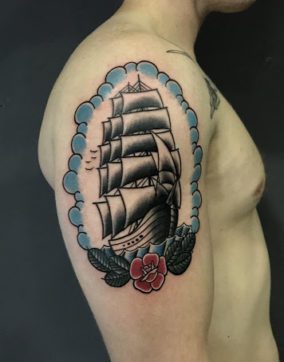
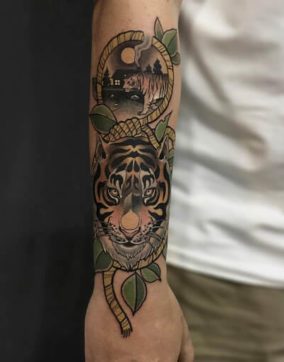
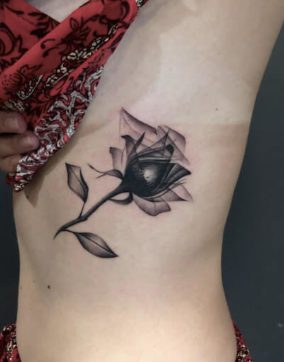
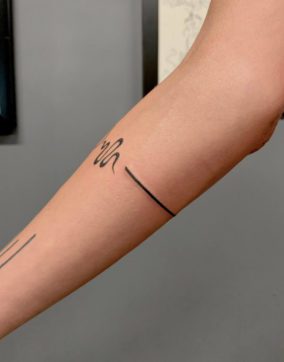
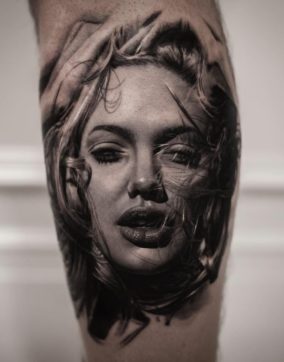
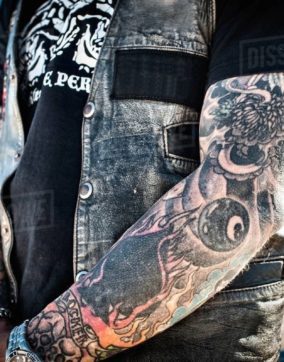
 Tattoo Healing Process – Tattoo Guide – 1984 Tattoo and Piercing Studio – Tattoo Hanoi
4. 1984 Tattoo Studio Guide – Days 15 to 30: Fresh and clean but dulled art
All the scabbing and flaking is gone, and your tattoo has a slightly taut look to it – it’s still new but the healing is almost done. It might seem a little set back into your skin or dull-looking, but that’s because you have a nice, new layer of epidermis over it that hasn’t completely settled yet. This new layer of skin will eventually look like the rest of your skin, due to your skin’s natural exfoliation of dead skin cells. So, your art will shine through by the end of this phase. This is a great stage to regularly moisturize and keep track of your regular skin care regimen, so your tattoo can look its best.
Remember, following your artist’s aftercare directions is key to making sure your healing process goes smoothly. Keep your tattoo clean, moisturized when necessary, dry when needed, and treat it with care. If anything seems amiss, contact your primary care physician, not your tattoo artist, as they aren’t certified to diagnose a problem. When you’re in the healing process, you might find yourself wondering why you went through all this pain just to have to go through an oozy, scabby mess, but trust us – it’s worth it. Cared for properly, the art on your body will last your whole lifetime.
 Tattoo Healing Process – Tattoo Guide
For more captivating stories about tattoos, feel free to explore our Blog. Additionally, you can check out our Facebook page for a variety of videos and images.